Blackboard or O2 to share with students. If you are sharing with other faculty to post for you, you will need to grant them rights to a file or folder as an Editor. If you have a Box account, skip to #2.
1. You must first create a Box account. To request access, call the IT Help Desk, 501-686-8555. You can also request access online through the IT Services portal at http://uams.service-now.com/it_services. Go to Request Something > Servers & Storage > Request Box Access.
You will get an email with instructions to log in.
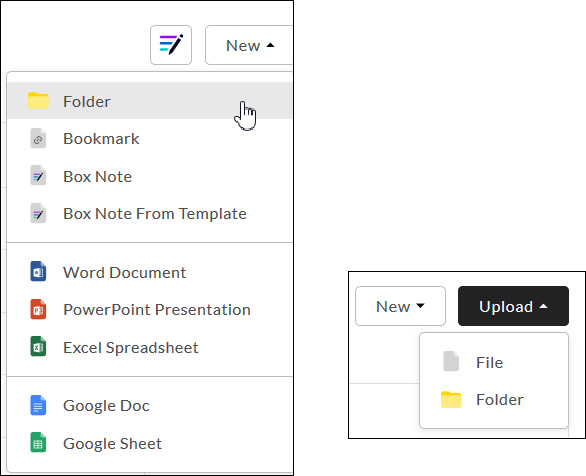
2. Log in to your Box account (account.box.com). You might want to create a folder for your course files. Use the New drop-down menu at the top right of the All Files screen. Or, you can go ahead and upload a File or Folder.
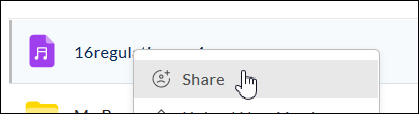
3. Your file or folder appears in the list. To share it, right-click the file name and select Share.
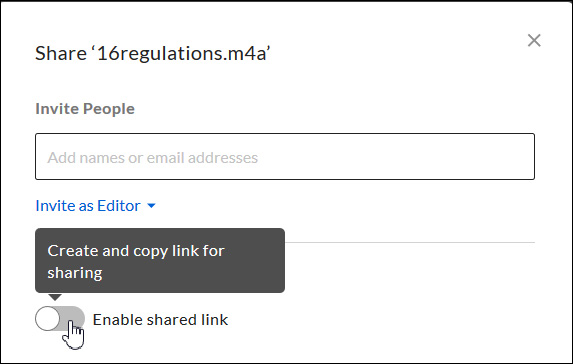
4. The Share dialogue box displays. Enable shared link.
5. You can invite specific people. If colleagues are posting files for you, you need to use the Invite People field and Invite as Editor.
To invite all students in a course, simply copy the link and share it in Blackboard.
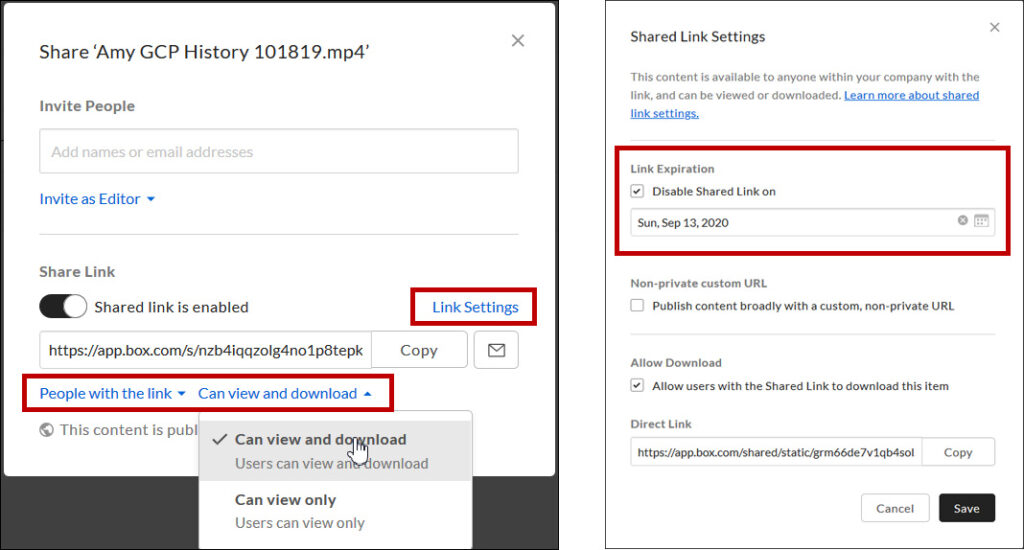
- Set to share with People with the Link.
- Select whether students Can view and download the file or Can view only.
- Also, view the Link Settings that include the default expiration date and modify as needed. Then click Save. Click Copy next to the link to paste it onto your clipboard.
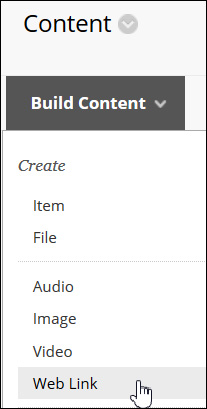
6. Go to Blackboard (uams.blackboard.com) and enter your course. There are several ways to link to a file. Shown below is using Build Content > Web Link.
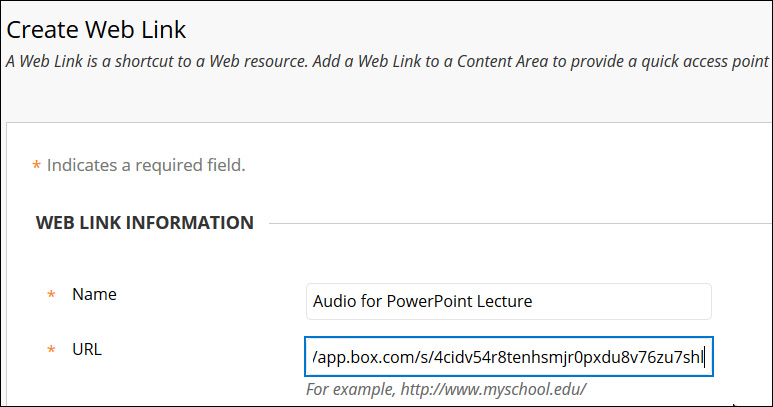
7. The Create Web Link page displays. Paste the web link from Box into the URL field. Complete the other fields as needed.
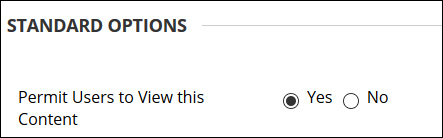
8. Scroll down on the page to Standard Options, and Permit your students to access it. Click Submit.
When your students click on the link, they can access the file and, if enabled, can download it. Time to download depends, of course, on size of file and internet connectivity.