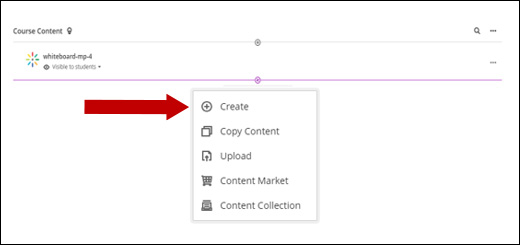
1. Click on the plus sign From the Course Content area and select Create.
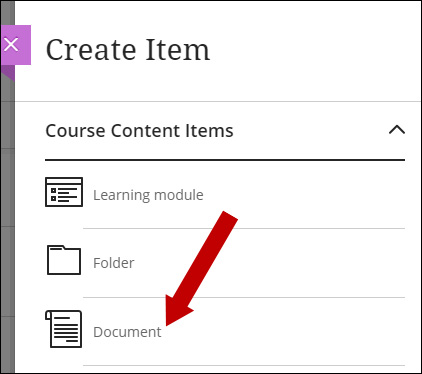
2. Under Course Content Items, select Document.
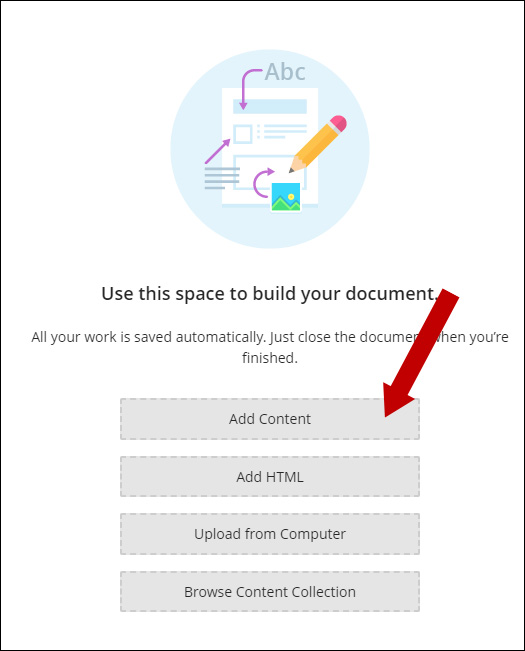
3. Click the Add Content button.
4. Click the Insert Content icon from the Content Editor and select Content Market.
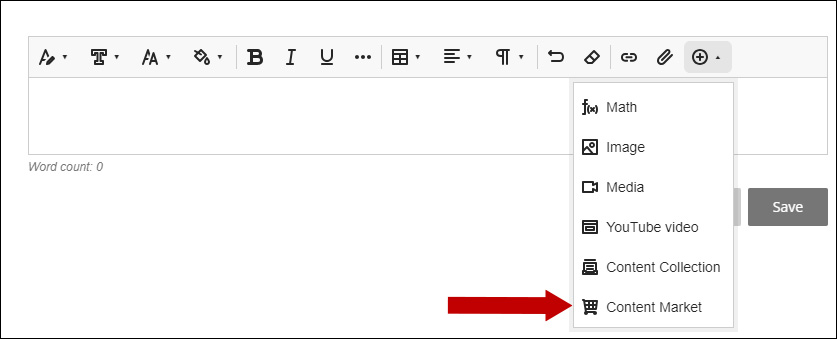
5. Select Embed Kaltura Media.
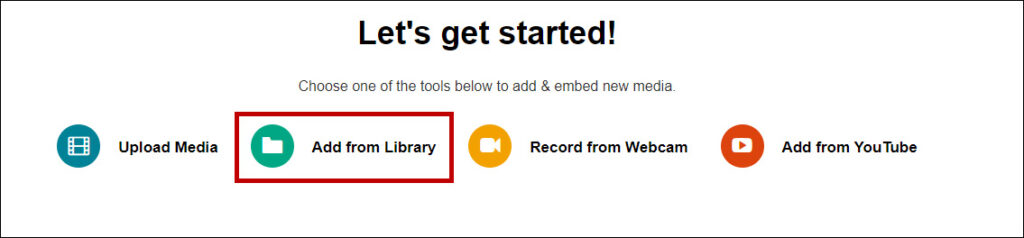
6. You can embed media from the options shown here. For this example, we will embed from the Library.
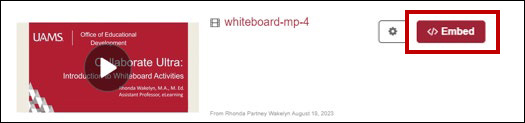
7. Locate the media you wish to embed and click the Embed button.
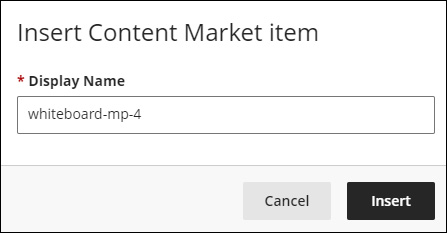
8. You can change the display name of your media in the text field if you choose to do so. When ready, click the Insert button.
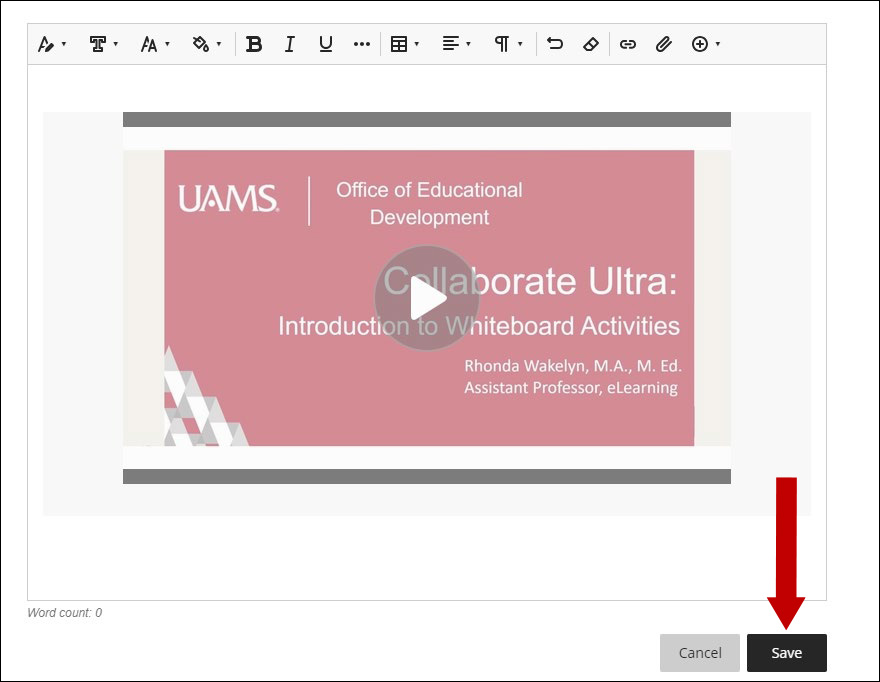
9. Your media will upload to your document. Click the Save button.
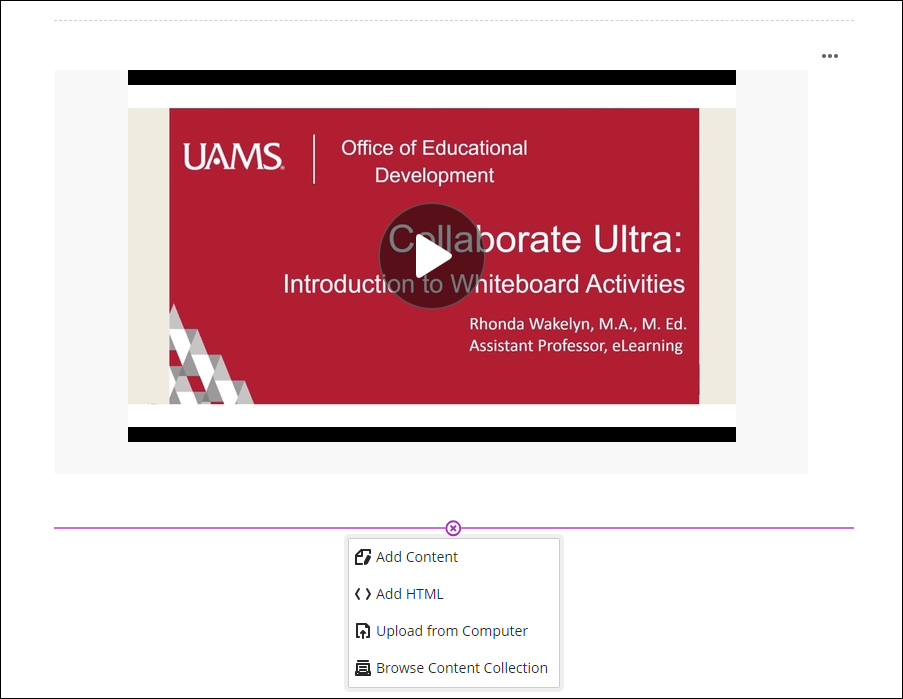
10. You can continue to add additional content to your document by clicking on the plus sign, including the options displayed in this image.
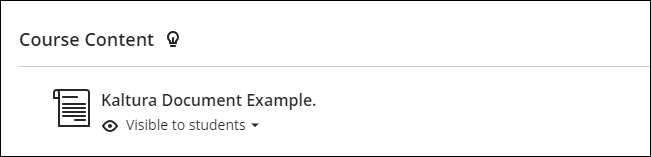
11. Your new document is now displayed in your Course Content area.