There are two ways to record videos using Kaltura. Express Capture enables recording content directly from a browser. Kaltura Capture requires the installation and use of an app on your computer.
Here is more detailed information about Express Capture vs Kaltura Capture.
In this document, we address the Kaltura Capture feature.
1. Go to Kaltura My Media.
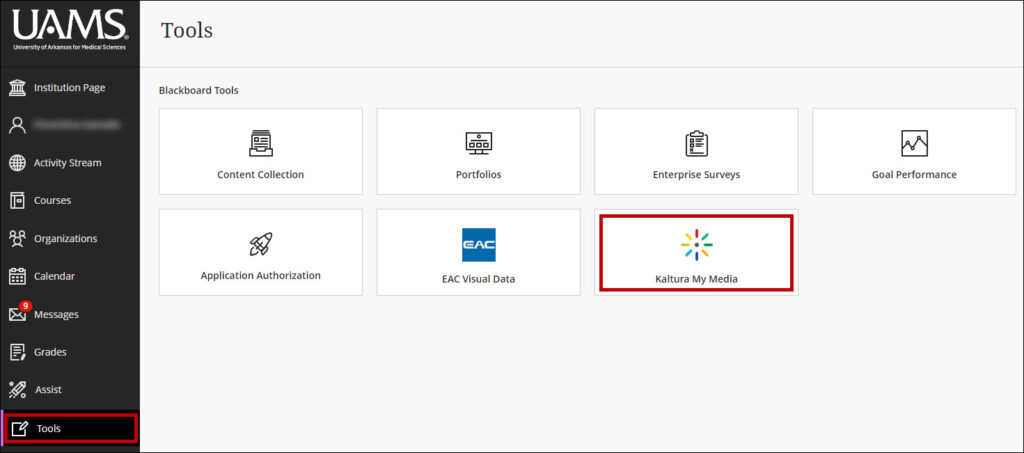
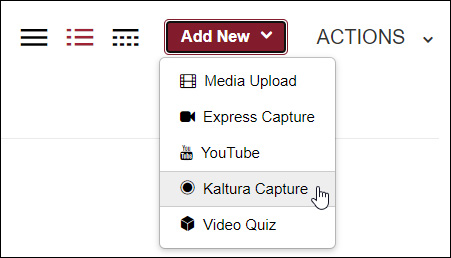
2. From Add New, select Kaltura Capture.
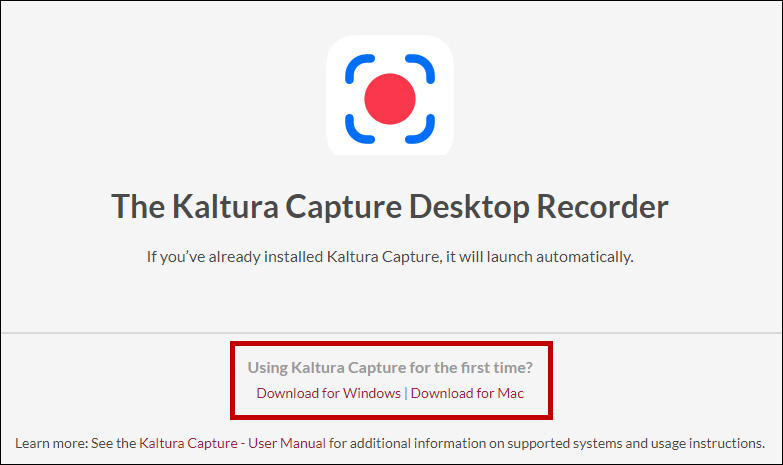
3. Download and install the Kaltura Capture app.
4. The Kaltura Capture app icon will display on your screen.

5. Start the process again and click Add New/Kaltura Capture. The Kaltura Capture window opens. Click New Recording.

Note: you can click the settings and the information icons for more options.
6. The recorder manager displays. You can drag the manager to the desired position on the screen.
Here is more information about the Kaltura Capture Recorder.

7. Check the microphone input on the Kaltura Capture Recorder.

8. Make your selections for the camera and share screen. In this example, the camera is disabled. Select the desired screen or Select Area.
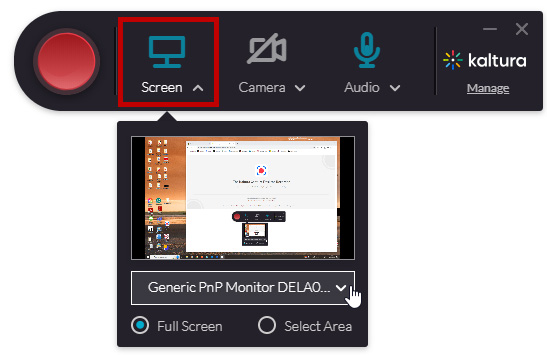
Note: If you are sharing content with sound, please make sure to select the Share system audio option.
9. Click the Start Recording button.

10. You can expand the recording panel and use the available tools during the recording.
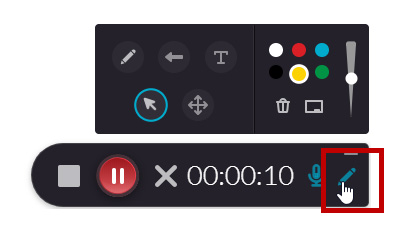
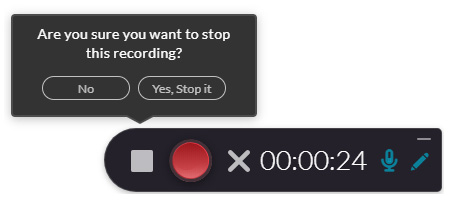
11. You can pause the recording and end it when you are done.
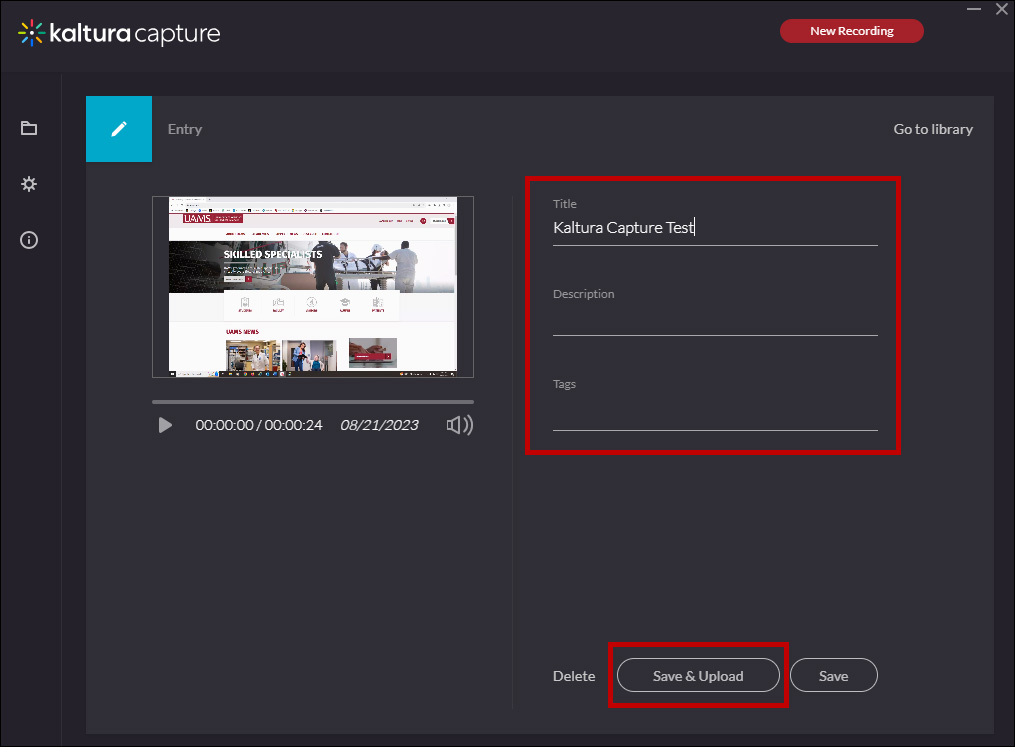
12. Provide a video Name, a Description (optional), and Save&Upload. After the upload is completed, close the Kaltura Capture window and return to the My Media page.
13. The video displays on the My Media page.

