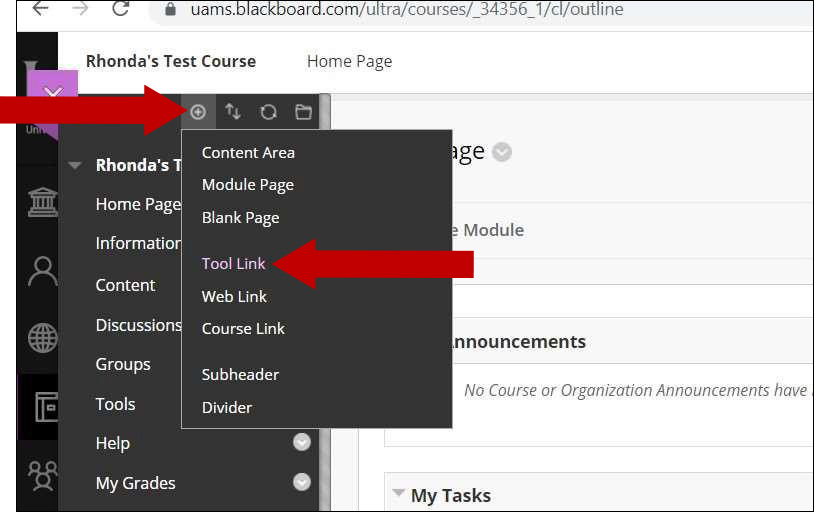
1. On the menu, located on the left side of the page, hover your mouse over the small circular icon with the + sign in the center and select Tool Link:
2. Enter the Title for your Tool Link in the text field under Name and click the drop-down arrow under Type. Select Class Collaborate Ultra:
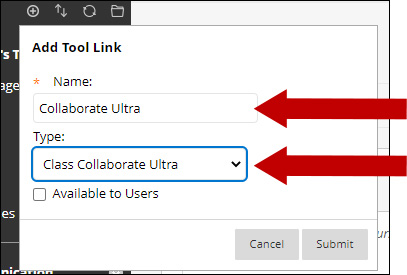
Note: For consistency, consider naming the link title the same as the tool “Collaborate Ultra.”
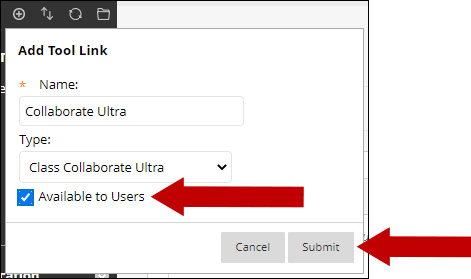
3. Next, check the box next to Available to Users and then click the Submit button:
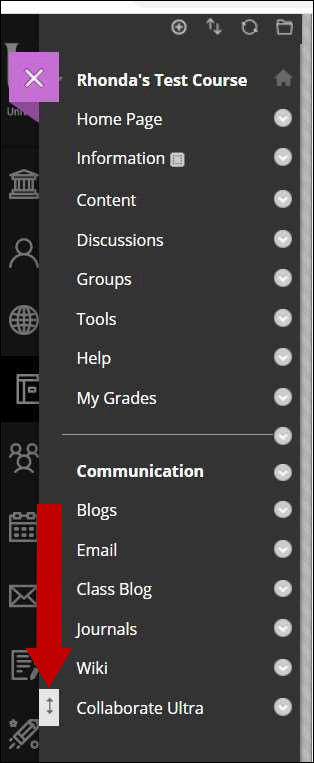
4. Your Collaborate Ultra link is now available in your course menu. Please note that you can change the location of the tool link by hovering your mouse to the left of the tool link and dragging and dropping the link into its new position on the menu.