There are a number of options for adding content to your course. This guide will describe two methods: adding an item and adding a file.
Option 1: Add a content Item
Items can be used to present a combination of content such as text, files, multimedia, links, and tables. One benefit is that you have creative control over the appearance of the course materials. For example, you can add text, media links, images, etc. to your content item.
Items are also used to provide descriptions to attached files.
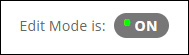
1. Make sure the Edit Mode is ON.
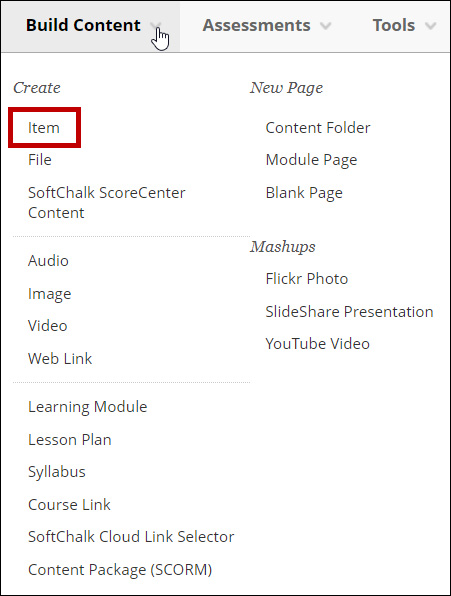
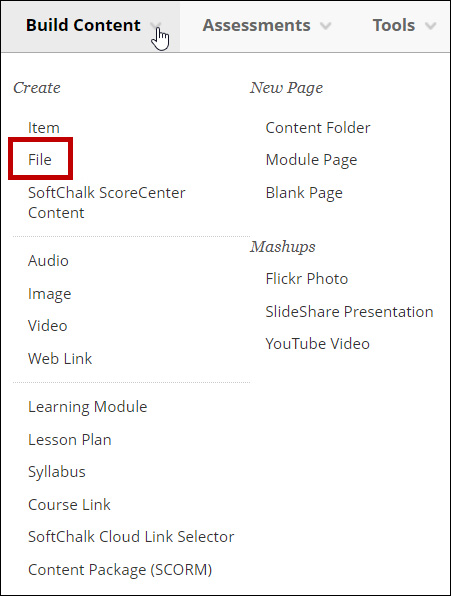
2. Within a content area, select Build Content.

3. Select Item.
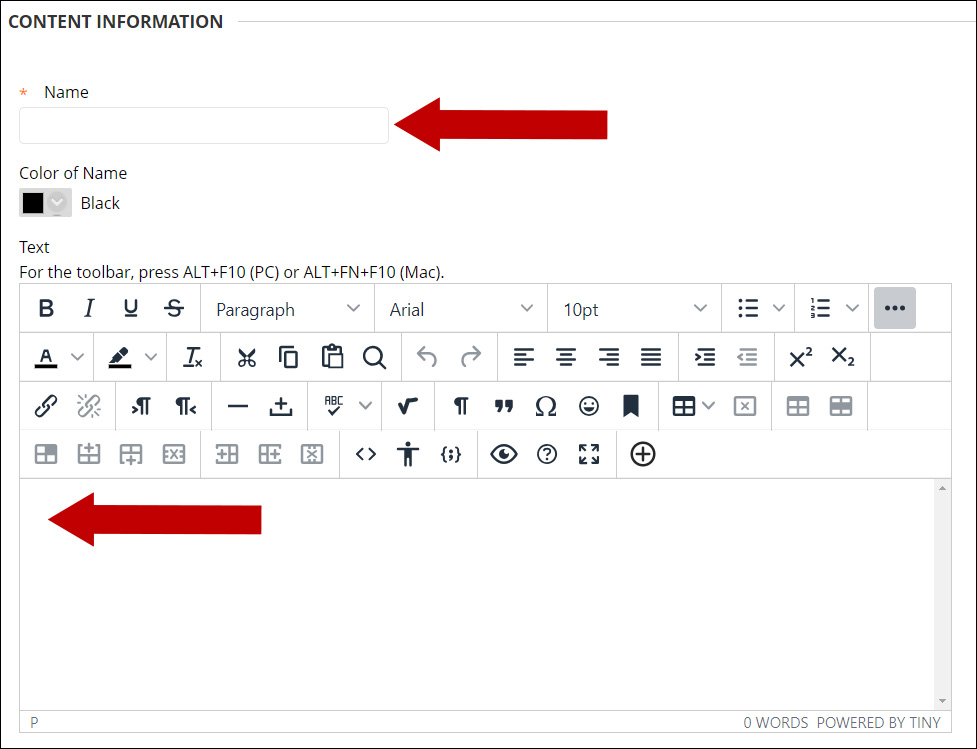
4. Enter the name of the item. Add text or multimedia content into the text box.
5. Attach files to the item.

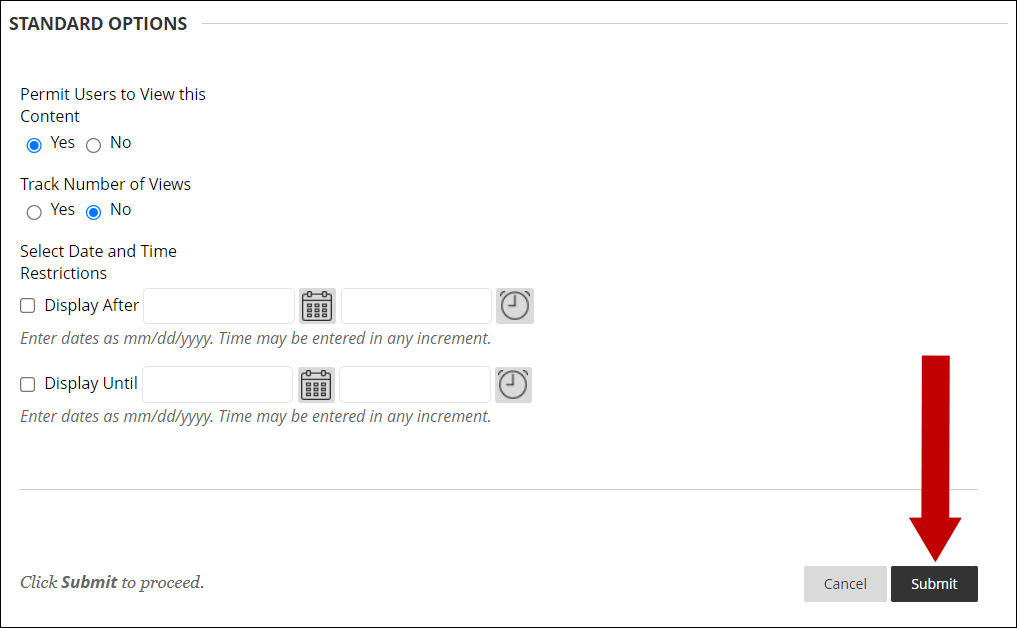
6. Select Standard Options and click Submit.

Option 2: Add a content File
You can add a single file on the content area. Since you cannot add a description with the file, you must use a meaningful title. Uploading files saves space and reducing the amount of scrolling and clicking to access materials but you cannot add additional text and images in a description.
1. Make sure the Edit Mode is ON.

2. Within a content area, select Build Content.

3. Select File.
4. Enter a name and select Browse Local Files or Browse Content Collection to select a file.

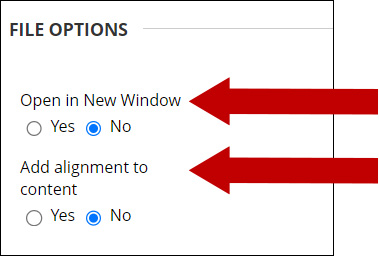
5. Choose File Options.
6. Select Standard Options and click Submit.