1. Open Respondus 4.0 on your computer.
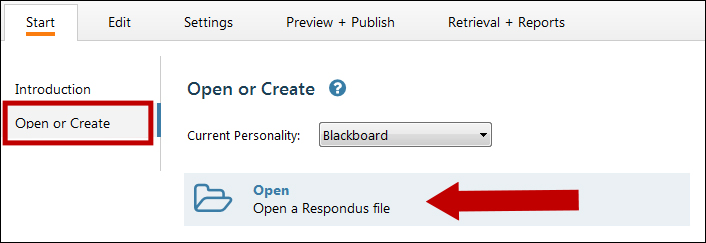
2. On the Respondus home page, Blackboard should be displayed in the Current Personality drop-down box.

3. Click the Open button to open a Respondus file.
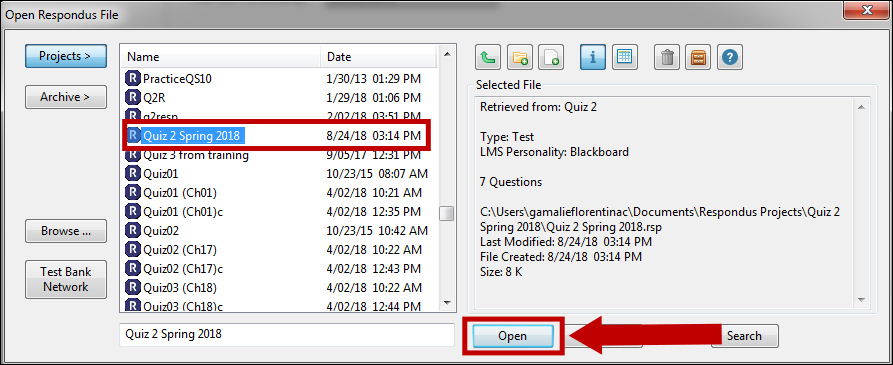
4. Select the desired file and click Open.
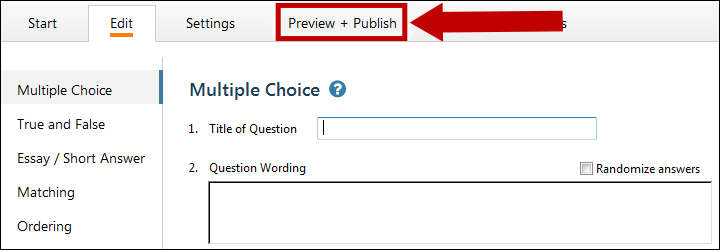
5. The Edit page displays. Click the Preview + Publish tab.
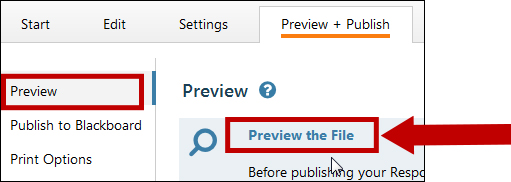
6. On the Preview + Publish tab, make sure Preview is selected on the left-hand menu, then click Preview the File.
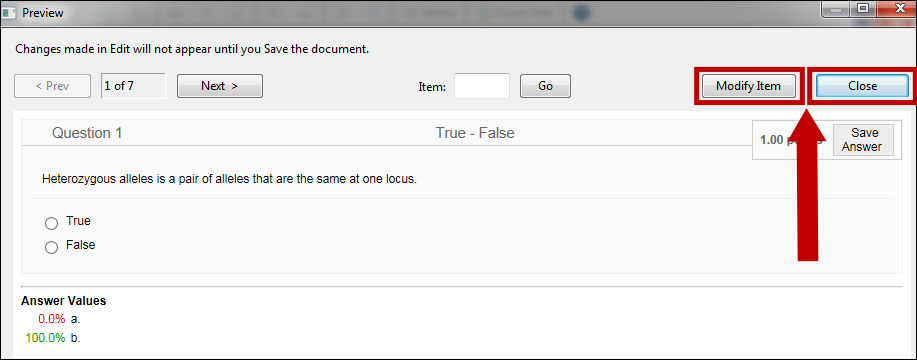
7. Each question will preview. Click Modify Item to edit or click Close.
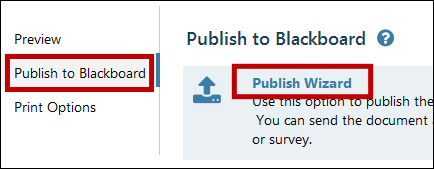
8. On the Preview + Publish tab, make sure Publish to Blackboard is selected on the left-hand menu, then click Publish Wizard.
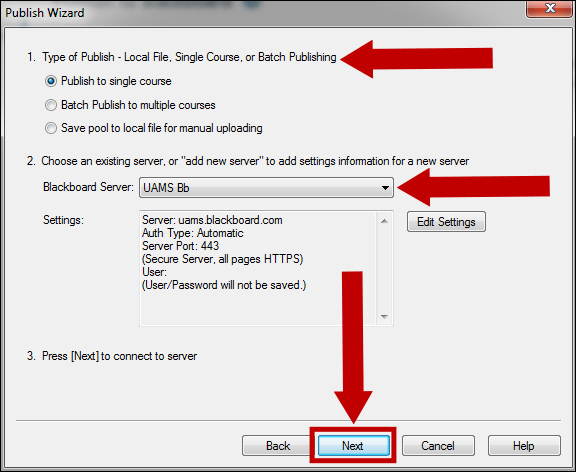
9. In the Publish Wizard window, select to publish to a single course or multiple courses.
Choose the server you added when you set up Respondus to publish to Blackboard. Refer to the related step-by-step if needed.
Click the Next button to connect to server.
10. Click OK to login to Blackboard.

11. Use the red button to log in. After you logged in, close the window by using Close After Login.
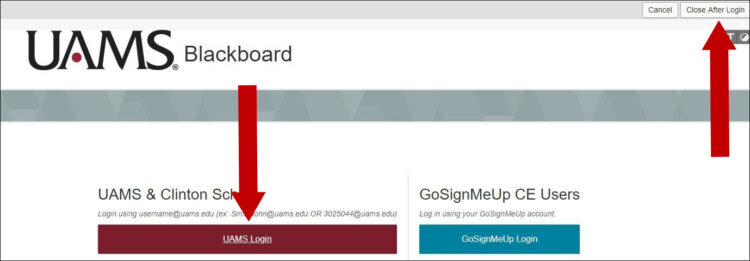
Note: You need to be enrolled as an instructor in the course. Edit mode must be ON in your Blackboard course.
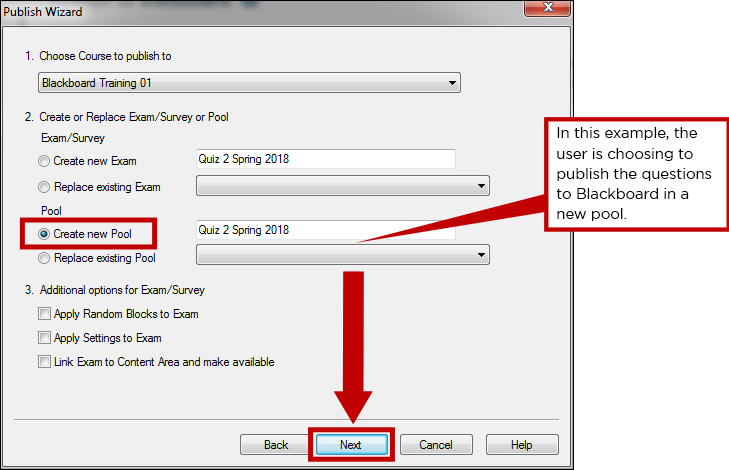
12. From the Choose Course to publish to drop-down menu, select the destination course.

13. Select the option to either Create or Replace Exam/Survey or Pool. Select the additional options and click the Next button.
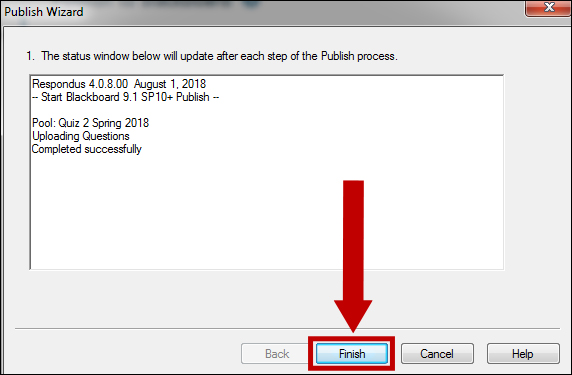
14. The status will update until a Completed successfully message is displayed. Click Finish. Check for the newly uploaded materials in your Blackboard course under Course Management > Course Tools > Tests, Surveys, and Pools.
