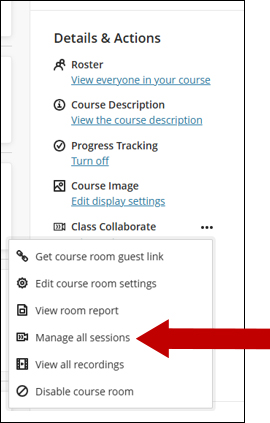
1. On the Course Content page, under Details and Actions, click on the ellipses next to Class Collaborate and select Manage All Sessions.
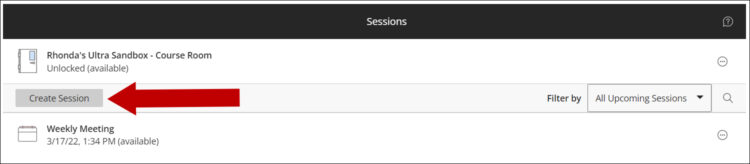
2. Access the Collaborate Ultra tool within you Blackboard course and click the Create Session button.
3. A panel will appear that allows you to customize the settings for your session. Add a title next to Session Name.

4. Next, under Event Details continue to provide your session details. Enter your start/end dates and times. You can also elect to leave the session open with no end date, repeat the session, and determine how early participants can enter the session.

5. To view and edit Session Settings, click on the icon shown here.

6. The Session Settings menu allows you modify session settings and manage participant privileges.

7. Once finished, click Create at the bottom of the screen.

8. Your session will now appear on the session list on the Collaborate home screen.
