After you create a survey, you can deploy it. Through this process you will send the survey out to participants.
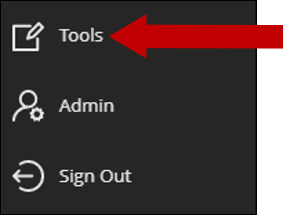
1. In the course menu, select Tools. Click on Enterprise Surveys to open the tool.
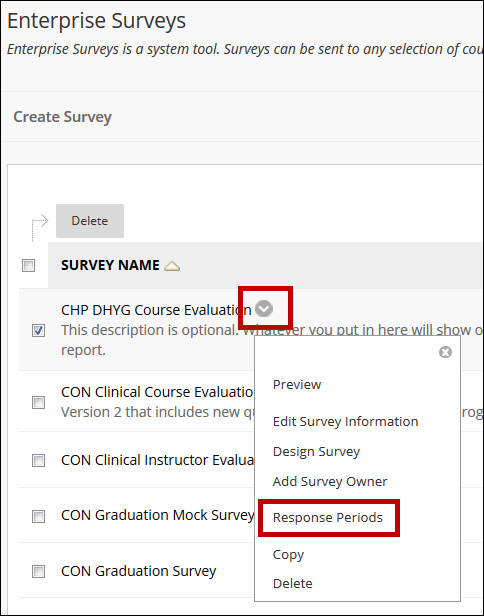
2. Hover your mouse over the survey and click the chevron ( ![]() ) for the options menu then click Response Periods.
) for the options menu then click Response Periods.
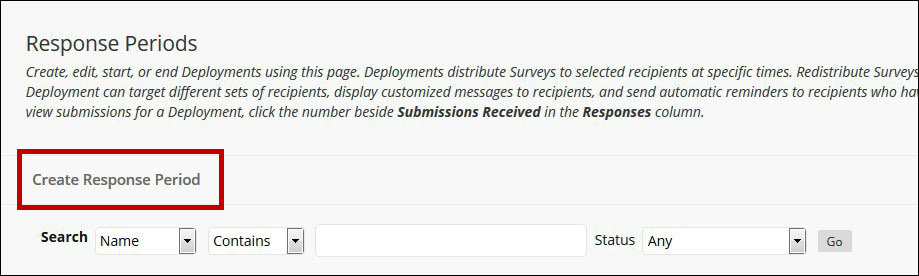
3. Click Create Response Period on the Respond Period Page.
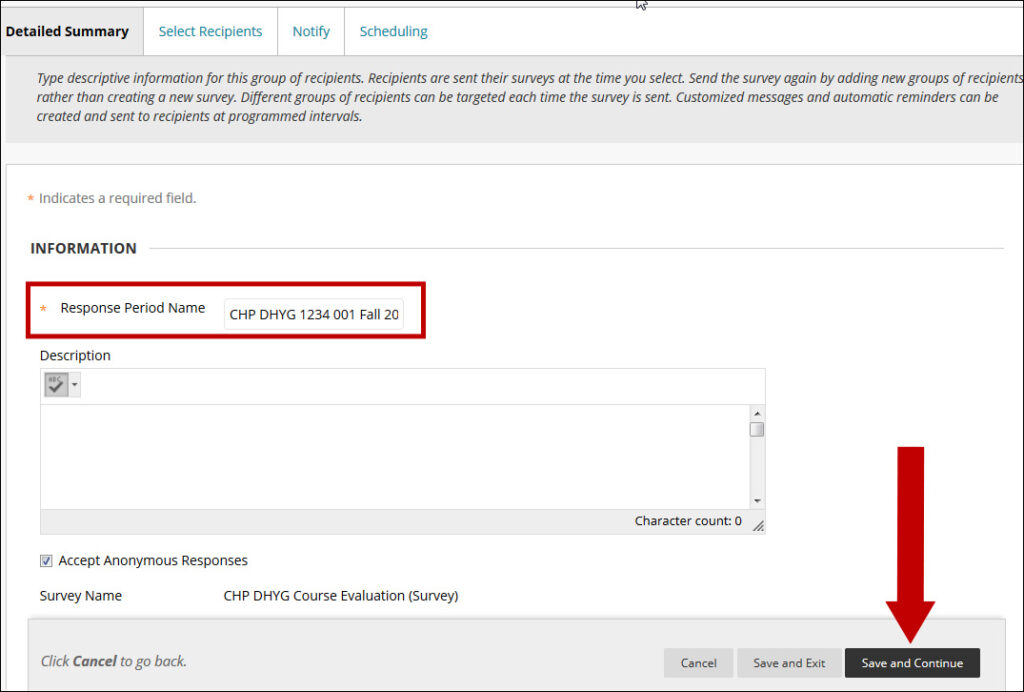
4. Use the appropriate naming convention to enter the Response Period Name and click Save and Continue.
Important Note: It is important to appropriately name your response period based on established naming conventions, so you can easily retrieve the results.
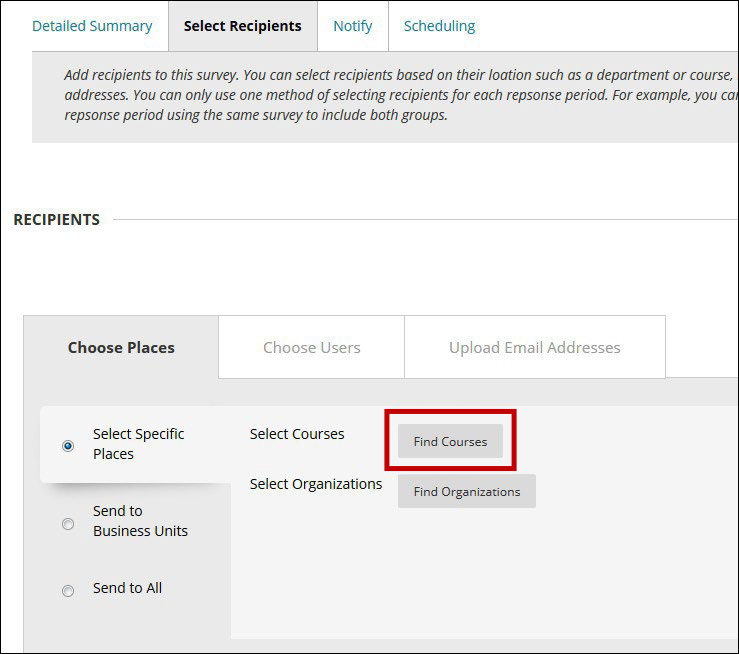
5. On the Select Recipients page click Find Courses.
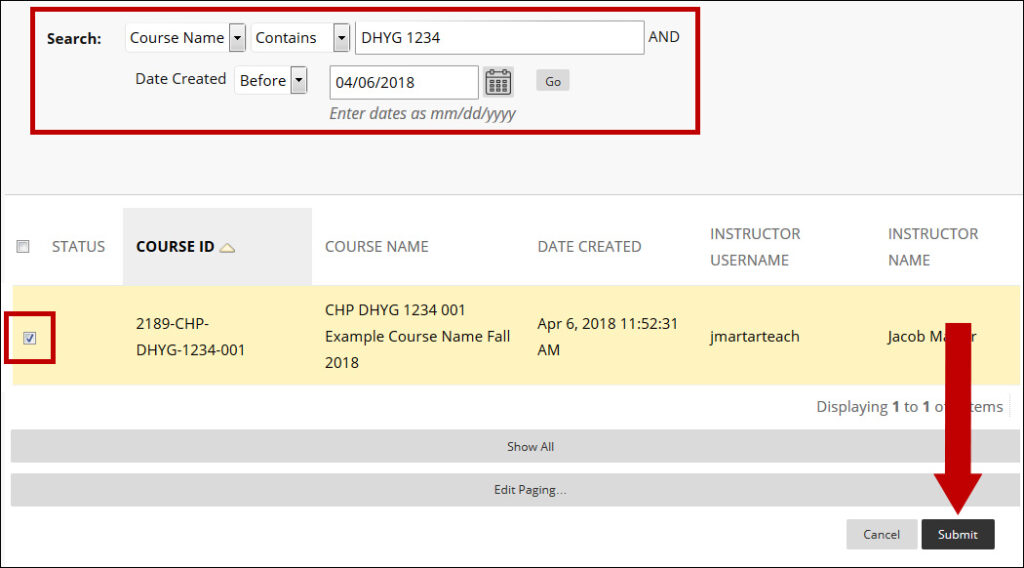
6. In the pop-up, use the search bar to find the course you wish to deploy the survey. Click the checkbox beside the desired course and click Submit.
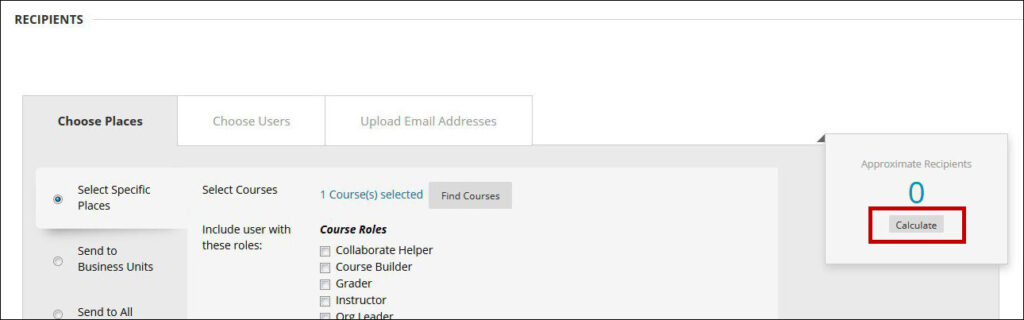
7. Click Calculate. The number that appears should match the number of recipients that you expect to survey.
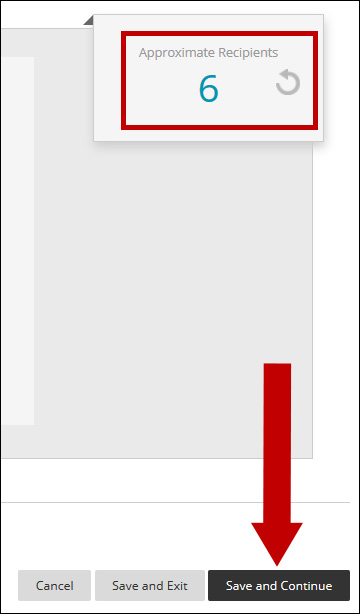
8. After Approximate Recipients has displayed click Save and Continue.
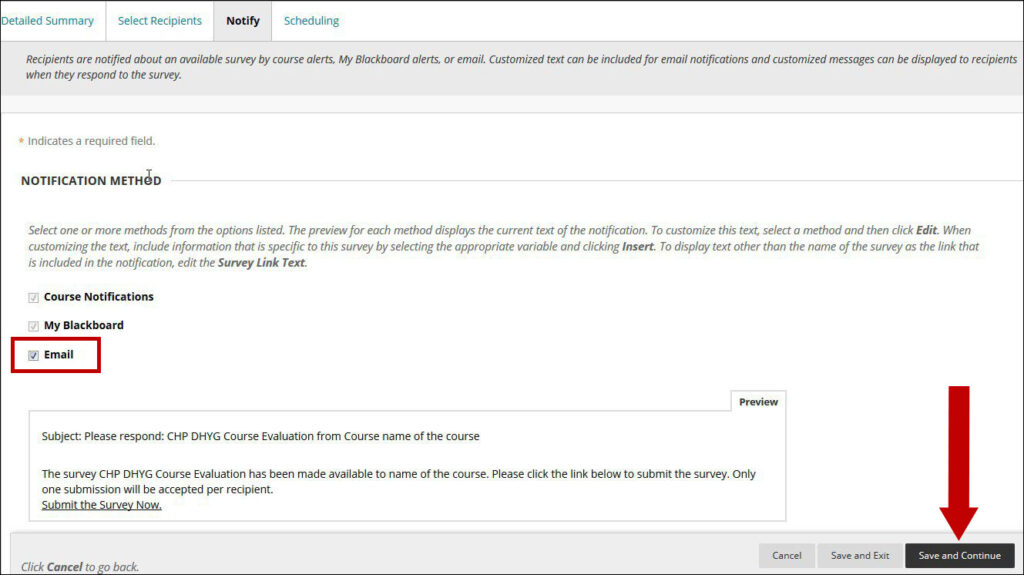
9. Check the box by Email then click Save and Continue.
Note: You have the option to change the default email message on this page.
10. On the Scheduling page you can set your survey start dates, end dates, and automated survey reminders. These settings will depend on your unique requirements.
The following screenshot shows an example of a survey that will last one week.
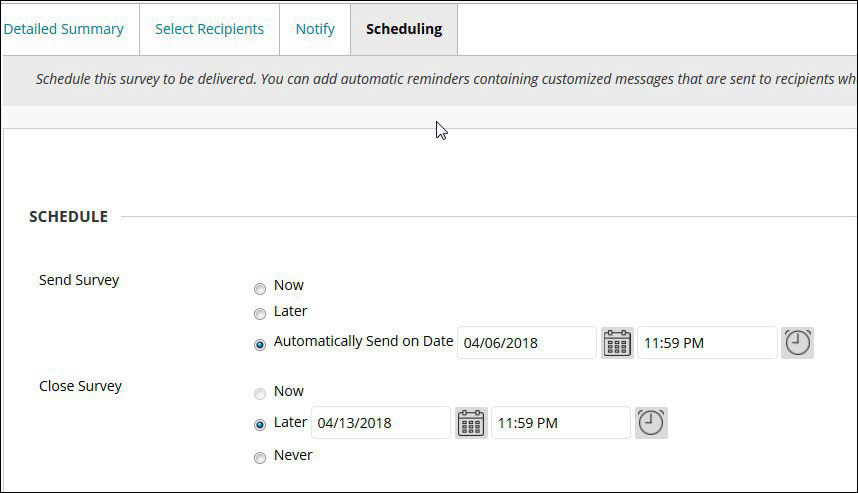
Note: Do Not Check Release Survey Results. This will share the results with all course instructors. Instructor do not need to see other instructor’s evaluations
11. Click Save and Exit. The button may say Save and Send Now if you set the survey to send now.
