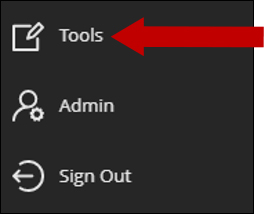
1. In the course menu, select Tools. Click on Enterprise Surveys to open the tool.
2. Click Create Survey.

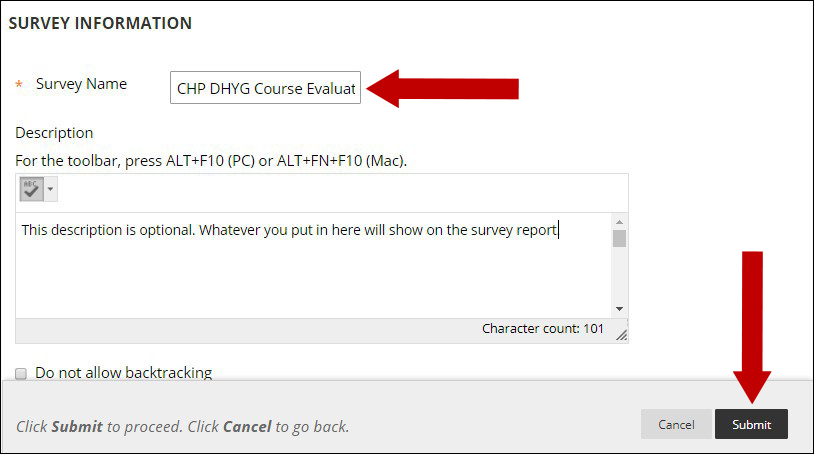
3. Enter Survey Name. A description is optional. There is an option here to disallow backtracking. Once you are done, click Submit.
Note: OED has suggested naming conventions for surveys that can be found here.
You will now be in the Design Survey area. From here, you can create questions, create visual elements (instructions, section break, and page break), edit the header and footer, and preview the survey.
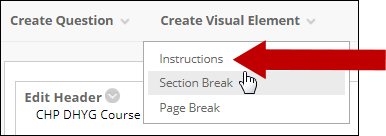
4. To create Instructions, hover your pointer over the arrow to the right of Create Visual Element. This will display the types of visual elements. Click Instructions.
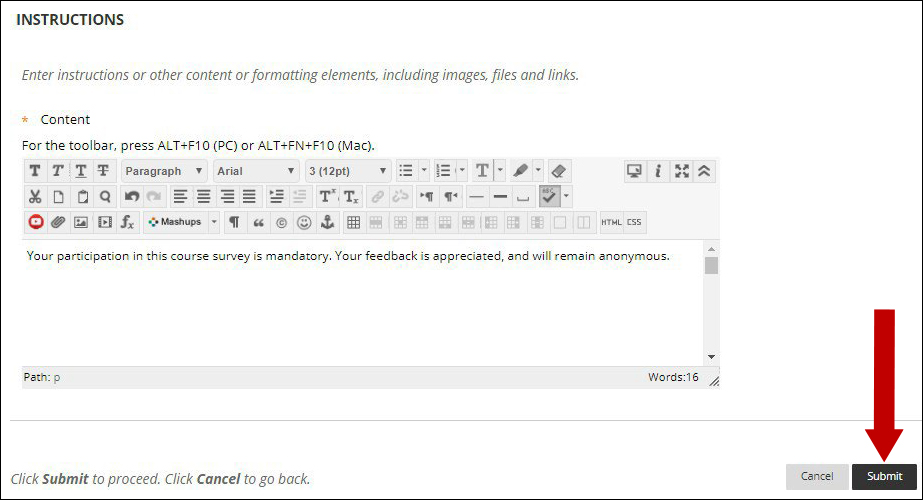
5. Enter your instructions into the text editor. When you are finished, click Submit.
6. You are taken back to the Survey Design area. The instructions you just created will look like this:

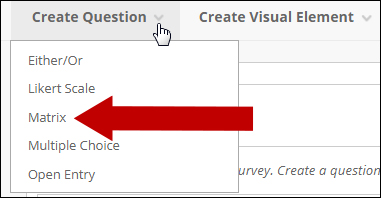
7. To add a question, hover your pointer over the arrow to the right of Create Question. This will display all of the question type options. Click which type of question you would like to create. As an example, we will create a Matrix question.
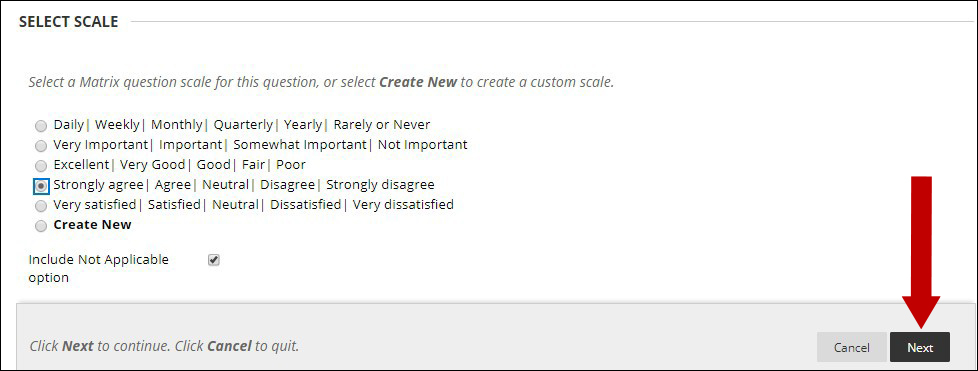
8. Inside the Create Matrix Question area, the first option is to select the scale on which the question’s responses will be scored. If you want to include a Not Applicable option, make sure to check the box here. Click Next.
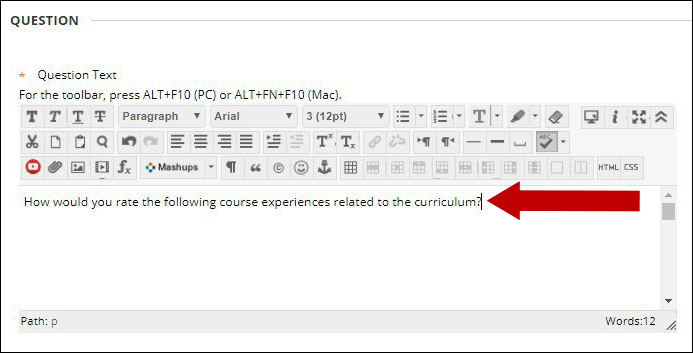
9. Enter your question into the text editor.
10. Check the box to the right of Required if respondents are required to answer this question.
Check the box to the right of Allow multiple selections to allow respondents to select more than one choice per answer option.

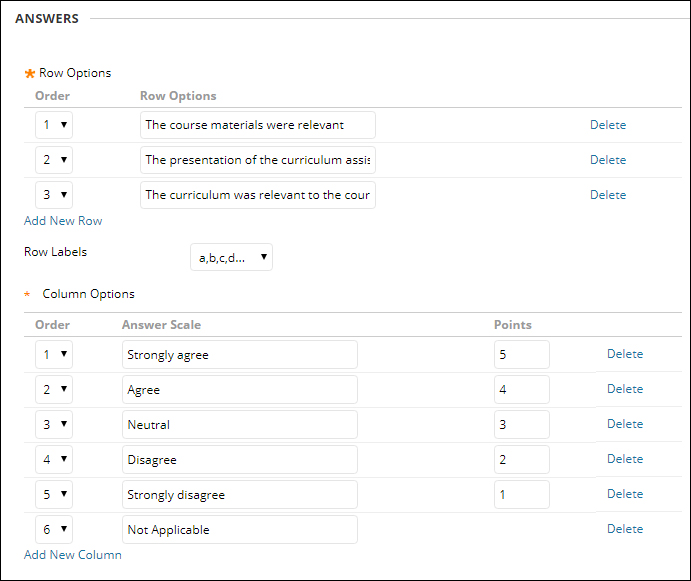
11. Enter statements under Row Options. To add an additional row, click Add New Row. Under Column options, assign points to each possible answer.
12. Add associated goals and tags if applicable. When finished, click Submit.

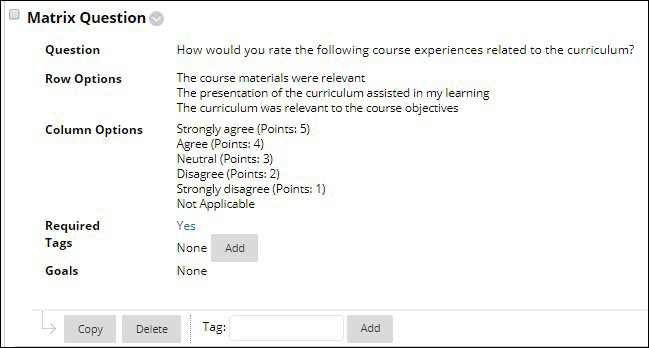
13. You are taken back to the Survey Design area. The question you just created will look like this:
14. To see how your survey will look to respondents, click Preview in the upper right-hand corner of the Survey Design area. A window will pop-up where you can preview your survey.

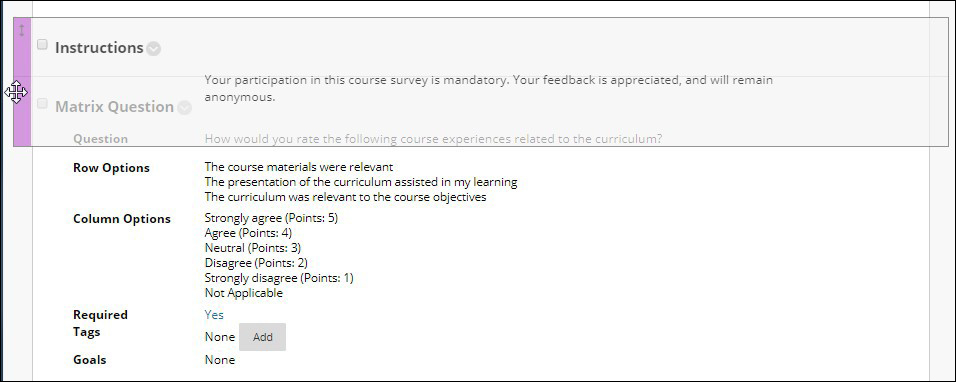
15. To reorder survey questions and visual elements, drag and drop the items or use the reorder menu at the top (the up and down arrows to the right of Preview).
16. When you are done adding questions and visual elements to your survey, click Exit Survey to return to the main Enterprise Surveys page or click Create Response Period to deploy the survey.

