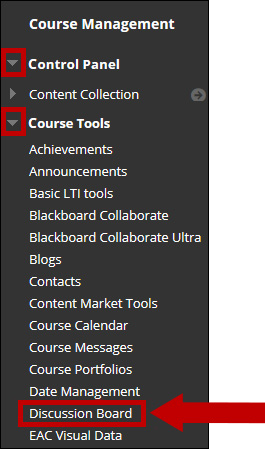
1. In Course Management > Control Panel > Course Tools, click on Discussion Board.
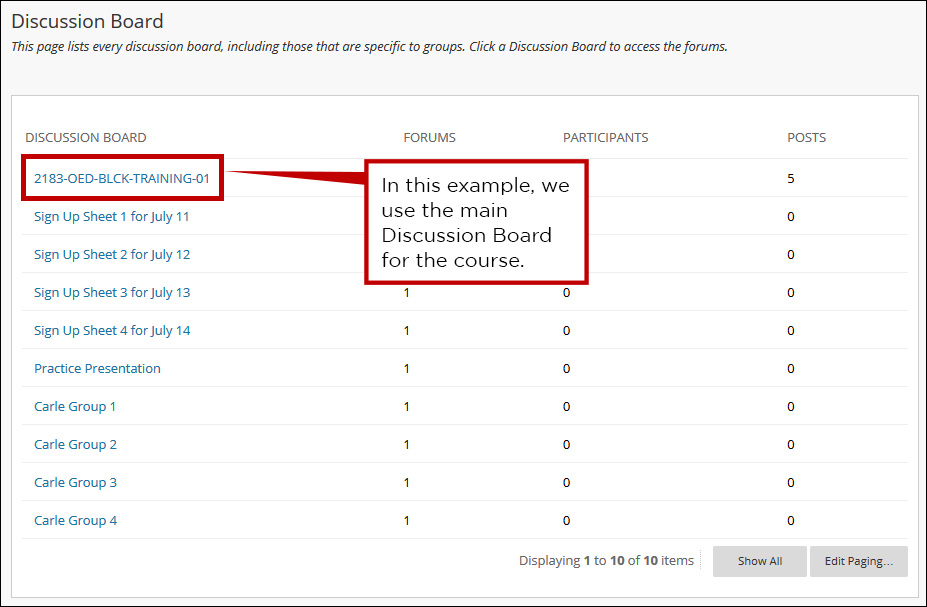
2. If you have set up Discussion Boards for groups, you will see the main Discussion Board at the top, followed by the group Discussion Boards. Click on the Discussion Board you need to collect.
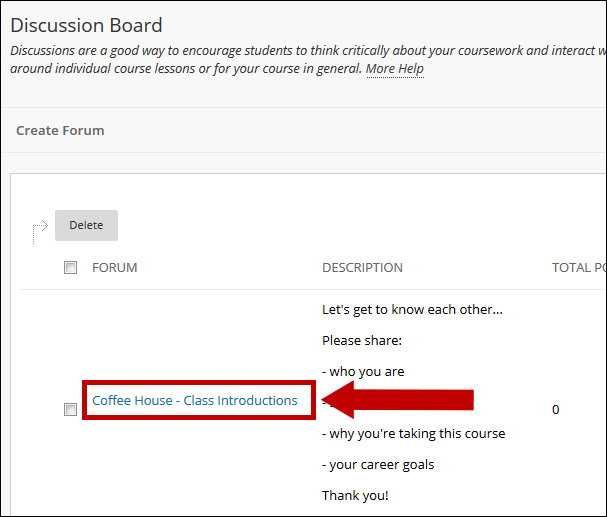
3. Click the forum title on the desired Discussion Board page.
4. The discussion threads will be displayed. Ensure you are in List View and all threads are displayed (see bottom of page).
Click the checkbox at the top of the far-left column to select all the posts or the desired threads. Click the Collect button.

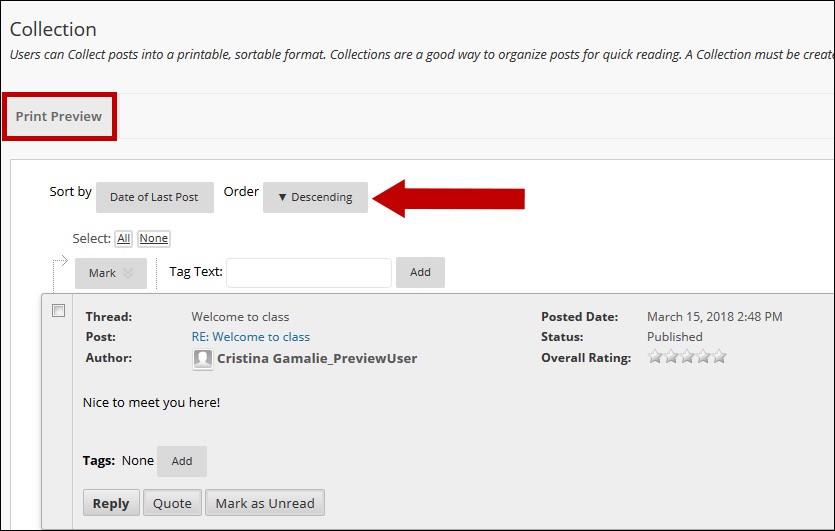
5. The Collection page displays all posts. In the example below, threads are sorted by the Last Post and Descending Order date. Click the Print Preview button. A window will display.
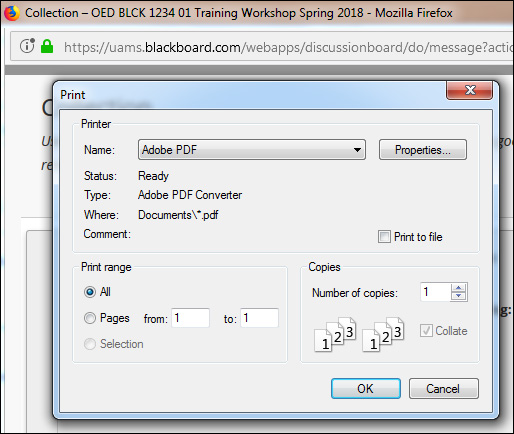
6. Preview and Print windows will open. Select the printer you wish to print to or select Adobe PDF to save an electronic file version.