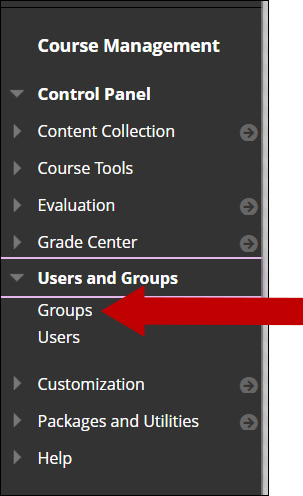
1. Under Course Management, click on Users and Groups and select Groups.
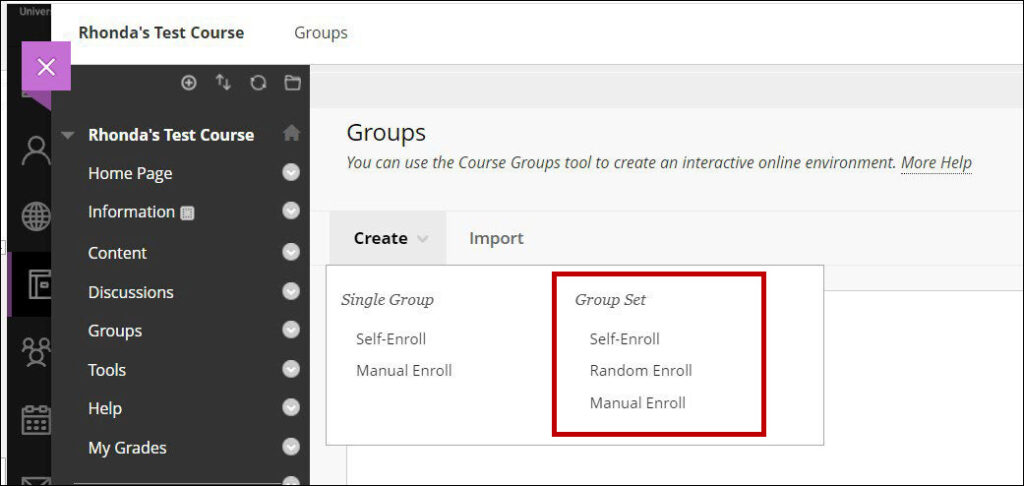
2. Hover over Create. Under Group Sets, select the method you wish to use to enroll students into the Group Sets. Note: For this example, I will use the Manual Enroll option.
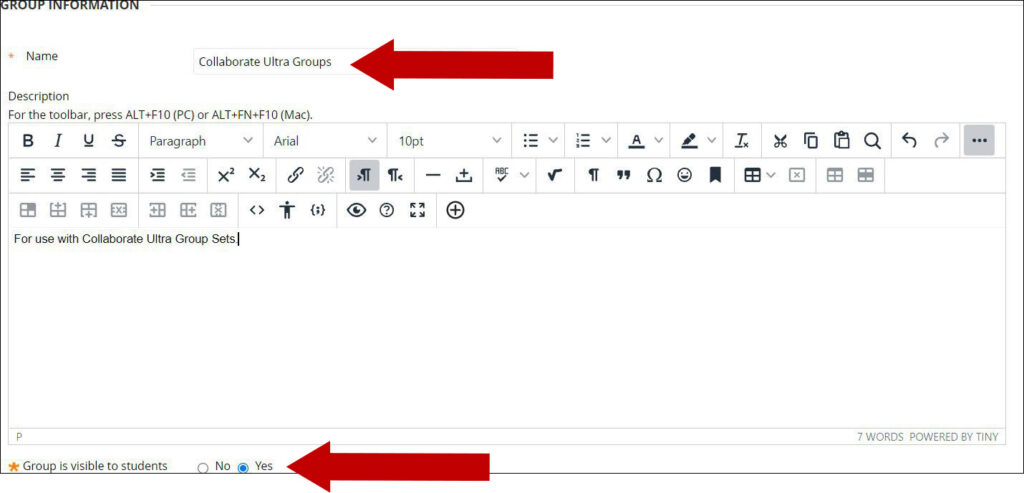
3. Click Manual Enroll. Under Group Information, enter the name of your group sets and description. Next to Group is visible to students, select Yes or No.
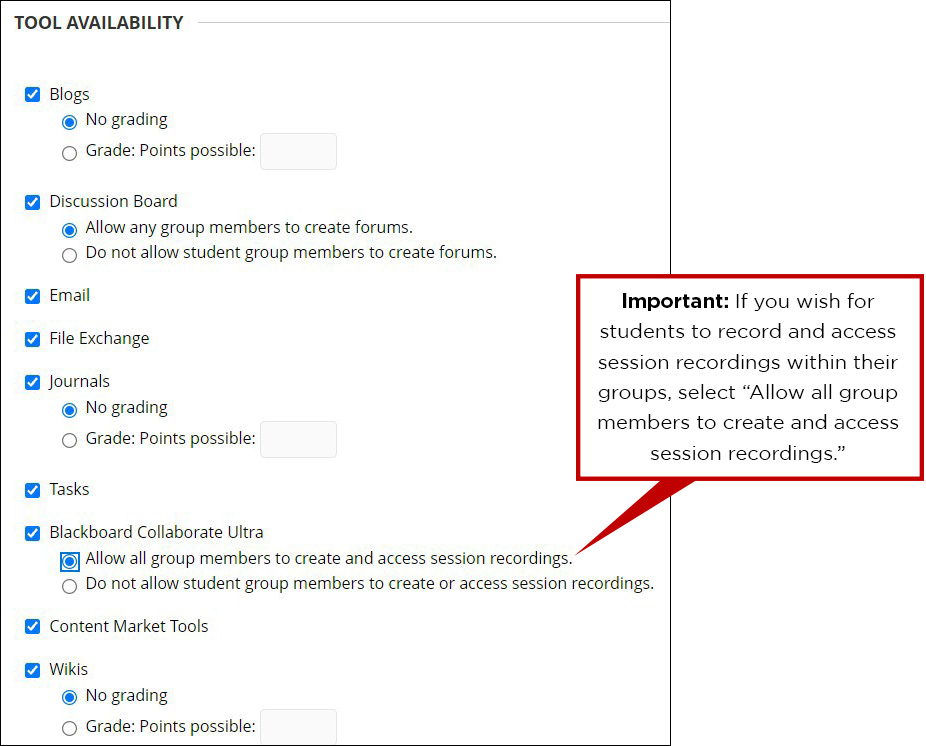
4. Under Tool Availability, mark all options as desired.
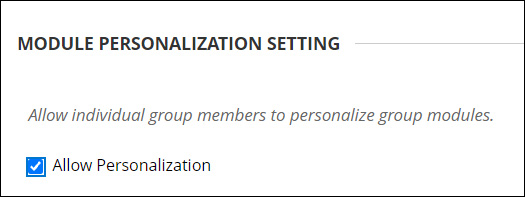
5. Under Module Personalization Settings, you can elect to allow students to personalize their group modules, if desired.
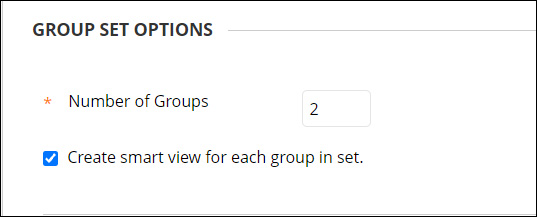
6. Under Group Set Options, enter the number of Group Sets you wish to create. If you wish to create Smart Views for each Group Set, select the check box next to “Create Smart View for each Group Set.”
7. When finished click the Submit button in the lower right-hand corner of the page.
8. Next, we will manually add students to our group sets. Under Group Set Enrollments, you can elect to “Hide members already in another group in this set”, if you choose. You can also elect to Randomize Enrollments or you can manually enroll users to the Group Sets in the groups below.
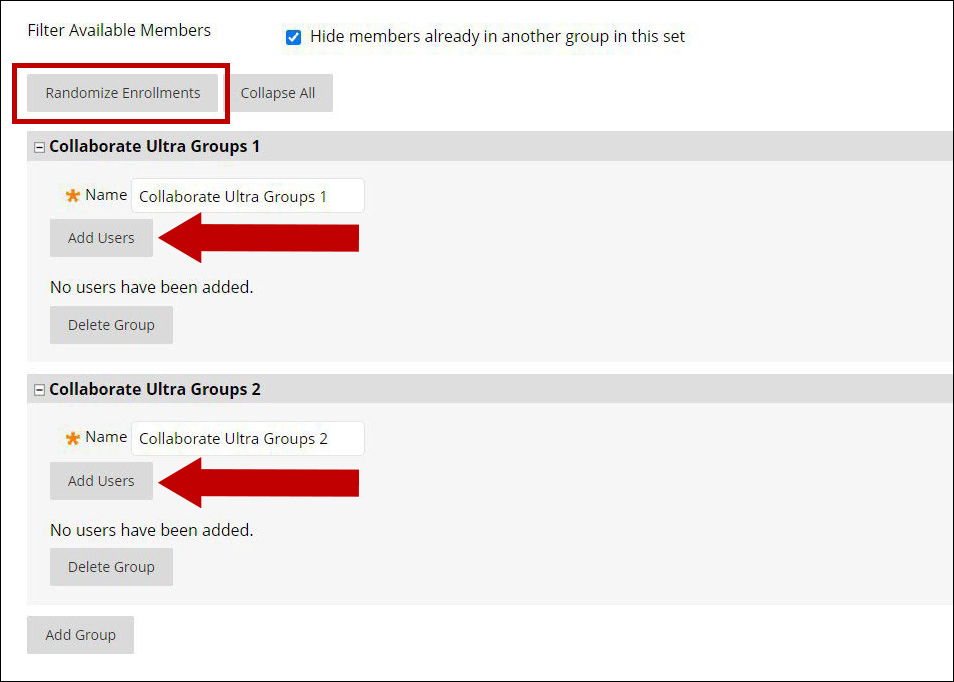
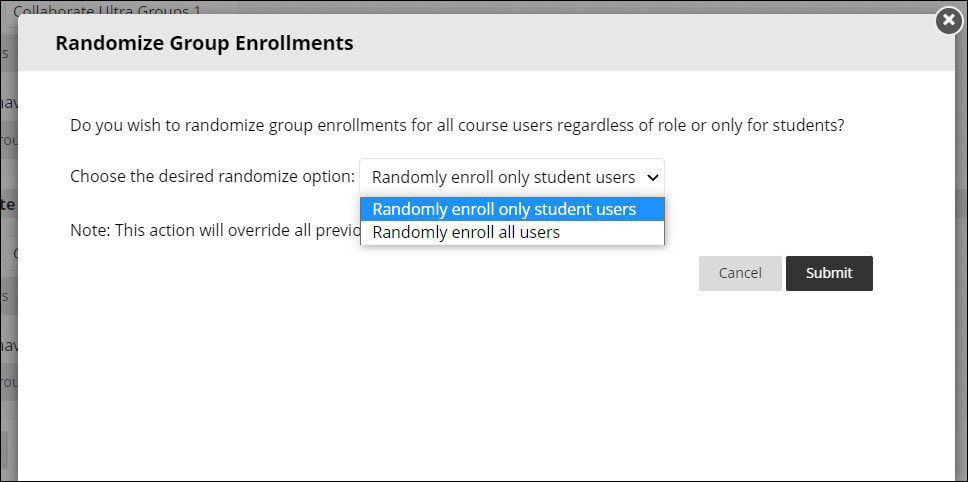
Please Note: If you choose to Randomize Enrollments, a pop-up window will open requesting more information. Elect to Randomly enroll only student users or Randomly enroll all users. When finished click the Submit button in the lower right-hand corner of the pop-up window.
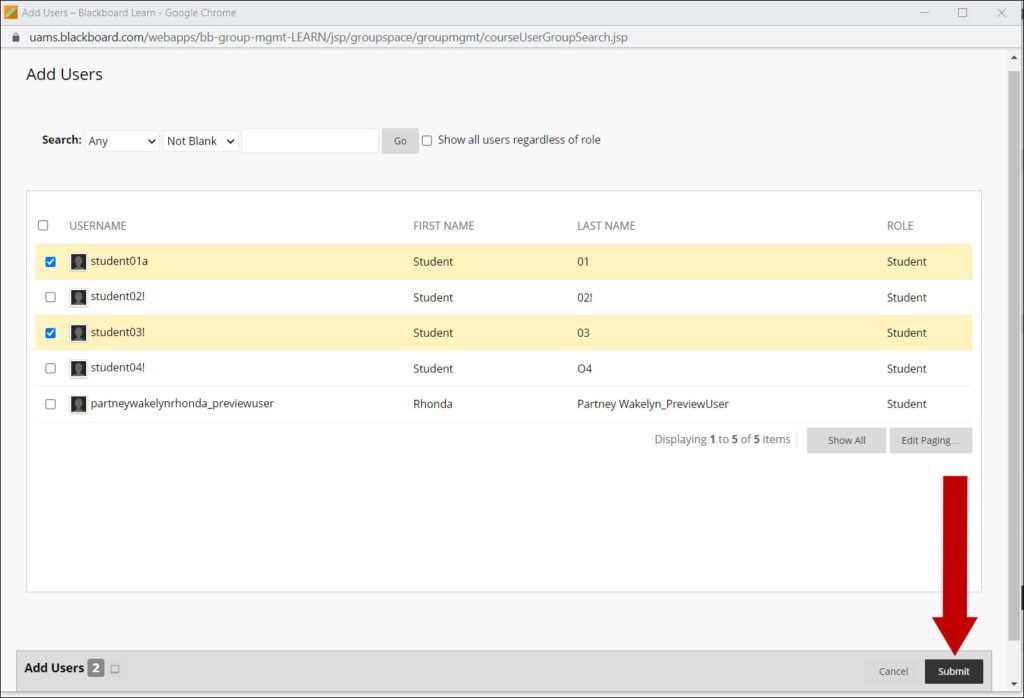
9. If you choose to add users manually to each group, a pop-up window will open asking you to add users to your groups. For my first group, I am adding Student 01 and Student 03. For my second group, I will add Student 02 and Student 04. Click the Submit button when students have been selected for their group.
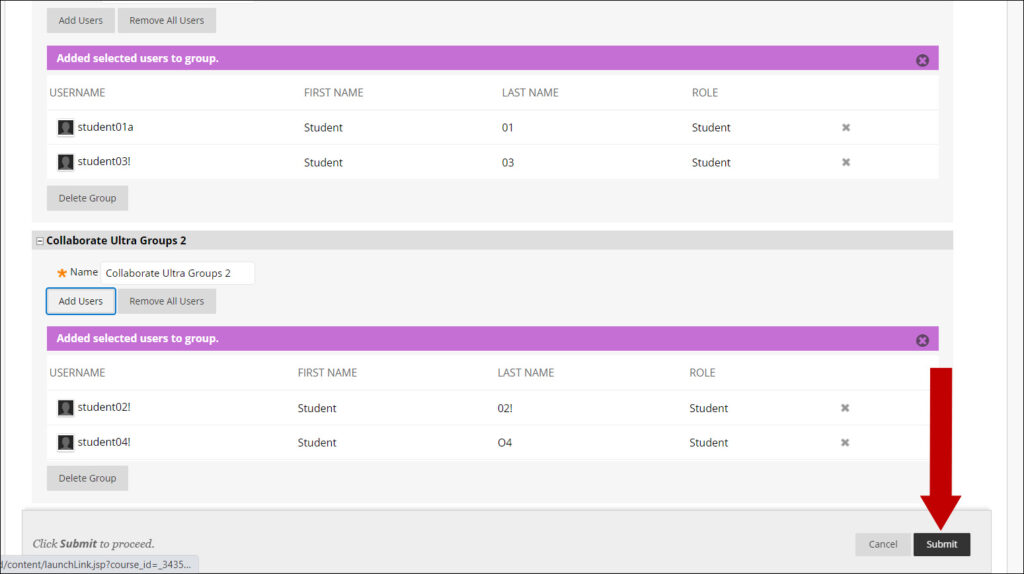
10. Once users are added, they will display in their respective groups. To complete the process, click the Submit button at the bottom of the page.
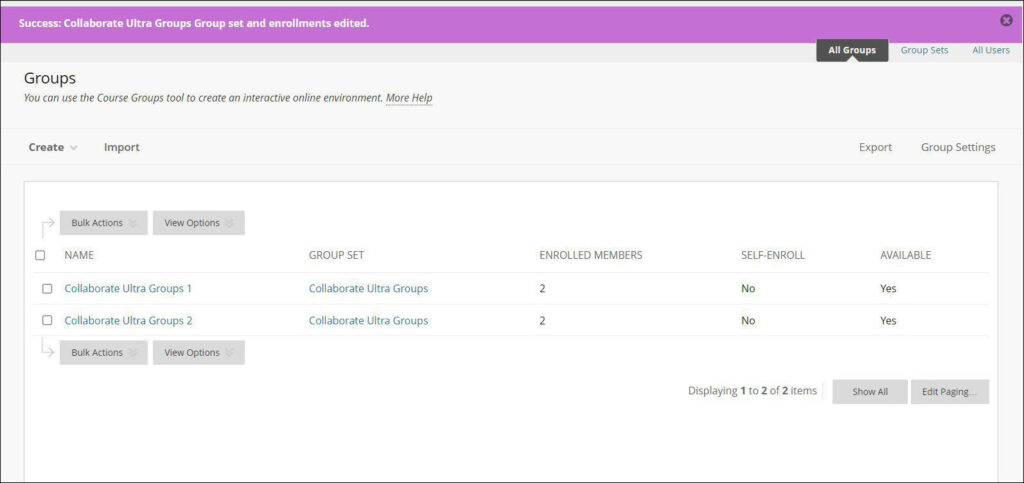
11. By clicking the Submit button, you will return to the Groups area in your Blackboard course and will see confirmation that the process was successful.